If you’ve ever tackled home repairs or worked on some wood-based projects around your home, chances are you’ve run into those frustrating cracks, dents, or tiny holes that seem impossible to fix. These imperfections can wreck your hard-earned work, no matter if you’re dealing with an old deck, worn-out outdoor trim or even a piece of furniture. The good news? There’s a simple solution: wood filler.
It’s important to keep in mind that there aren’t all wood-fillers that are equal. The right filler for the project is essential. This guide will teach you the best way to use wood filler (especially in outdoor projects).
What is Wood Filler precisely?
The wood filler material can be used to smooth out flaws and cover holes on wood surfaces. After drying, wood filler can be stained or painted, making it a great product for achieving a seamless surface prior to applying the final coat.
Based on the type, wood fillers can be either water-based (easier to clean up and more suitable to use indoors) or solvent-based (stronger and more weatherproof). The best type to choose depends on what you are doing.
When should you use wood Filler?
If you find a nick, a gouge or gouge on a wood surface, you can use wood filler to fix the damage. Here are a few of the many uses for wood filler:
Repairing furniture damaged
Repairing cracks in doors and windows
Filling nail holes with trim or molding
Sealing the gaps between fences, decks and other structures
Making sure that the imperfections are filled in prior to staining or painting will result in a more smooth, professional finish.
Why Exterior Wood Filler Matters for Outdoor Projects
Are you working on an outdoor wood project, such as a fence, deck, or sidings? This is the place where you need to be aware Wood fillers for indoor use won’t suffice outside. Wood can expand and contract because of temperature fluctuations or humidity, as well as rain and sun. Fillers that are not intended for outdoor use may crack with time or break off.
They are strong enough to withstand the elements. They are flexible enough to move along with the wood, keeping the area from breaking down in the changing seasons. Exterior fillers can also be resistant to moisture, UV rays and mildew.
How do I apply deck wood filler correctly
Deck wood filler helps you cover more extensive gaps and cracks on your outdoor deck. It is generally available in tubes, which can be applied using the standard caulking tool.
This is a short step-bystep guide on how to make sure you’re doing it correctly:
Clean up any debris, dirt and filler that has been used up.
Prepare the Area: Lightly sand around the crack or hole to ensure the filler is able to adhere properly.
Apply the Filler Apply the Filler using a putty tool or caulking gun to press the filler into the damaged area. Do not overfill the area so that it can shrink when it drys.
Let it dry Let It Dry differ based on the type of product you’re using and how thick it is.
Sand the Area: When the area is dry and dried, sand it to the same degree as the wood surrounding it. This will give an appearance of a seamless surface.
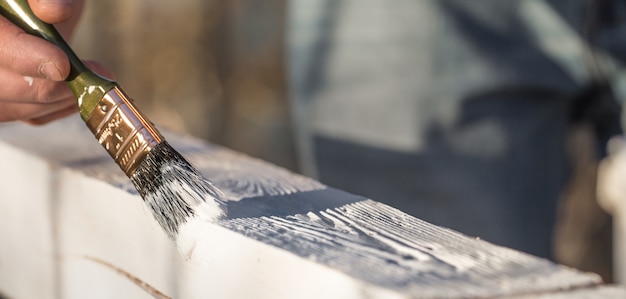
Prime, paint or stain: Finish your project off with paint or stains that are in harmony with the rest of the project.
Small Step, Big Results
The process of picking up a tube wood filler might not be crucial initially. If you ask someone who skipped the step, only to regret it later, it can make all the difference between rough DIY and polished professional look.
It’s possible to make the work last longer with the use of exterior wood filler as well as deck wood filler.
Remember: before you grab the paintbrush, smooth it, fill it in, and then seal the project. The future you (and your wood projects) will be grateful to you.